Looking for a varied day hike near Valencia Spain with history and beautiful nature? Look no further than the Ruta del Agua y Aqueducto de la Peña Cortada in Chelva!
We were recently traveling by van in the Valencia region and were looking for unique hikes in Valencia. We were thrilled to find this route!
The hike takes you through so much different nature and different historical sites, but the highlights are without a doubt the tunnels in the mountainside and the 1st-century Roman aqueduct.
Here is a complete hiking guide to hike Ruta del Agua y Aqueducto de la Peña Cortada from Chelva.
Disclosure: This post may contain affiliate links. That means that if you make a purchase through one of those links, I will get a small commission at no extra cost to you.
Hi, I’m Linn Haglund, the face behind Brainy Backpackers. I’ve been based in Spain for the last 10+ years, and travel locally and abroad whenever I have a chance. I’m passionate about responsible travel, slow and off the beaten path travel, and outdoor activities, especially hiking. I’m currently slow traveling in my van Persistence (Persi among friends) with my fiancée Mohammed and rescue puppy Atlas. I’m excited to help you explore this planet responsibly!
👉JOIN OUR FACEBOOK GROUP FOR SPAIN AND PORTUGAL TRAVEL TIPS!

🥾IN A HURRY?🥾 BOOK YOUR HIKING ADVENTURE FROM VALENCIA HERE!
👉From Valencia: Peña Cortada Aqueduct Hiking Day Tour
Hiking Specs: Ruta del Agua y Aqueducto de la Peña Cortada
Ruta del Agua y Aqueducto de la Peña Cortada is a moderate hike that is mostly easy to hike and follow. But there are sections of steep steps and if you suffer from vertigo, I gotta warn you, the aqueduct can be a bit scary to cross!
But expect from that, the only hard part is the heat of the beating sun. So make sure you bring enough water and a hat to cover your head.
Hiking time: 4-5 hours
Length: 13.8 km
Difficulty: Moderate
Type of hike: Loop
Best time to hike: all year round
I recommend downloading the Wikiloc app and following the route on your phone to make sure you don’t get lost. I recorded the below track when we did the hike.
Note, that we walked a lot back and forth in the tunnels to take videos and pictures as it was sooo cool there.
I tried leaving the phone in one place to not record it all, but shit happens and it did end up walking a bit back and forth with me, so don’t mind that bit!
OTHER THINGS TO DO NEARBY
- Hike Ruta del Agua Buñol
- Things to do in Buñol
- Cueva del Turche in Buñol
- Guide to Chulilla Valencia
- Charco Azul in Chulilla
- 2 days in Valencia itinerary
- One day in Valencia

How to get to Chelva and the trailhead
Ruta del Agua y Aqueducto de la Peña Cortada starts at the Molino Puerto recreational area. It’s a 10-minute walk from the village of Chelva.
There is also a parking lot at Molino Puerto recreational area, which costs 5 Euros. It seemed like they were only there to charge on weekends when we visited, but they might charge every day in the summer months as it’s a popular place.
Driving from Valencia takes 50 minutes to an hour.
Once you enter the parking space, there is a small bridge on the left side taking you along the river (not crossing the river to the other side where the big hiking signs are.)
If you travel by bus, you’re better off staying a night or two in Chelva as the bus table isn’t that great. You can check the bus timetable here.
However, if you don’t drive, I highly recommend taking this guided tour from Valencia. It takes you the opposite way around starting in Calles with the aqueduct and returning through the Ruta del Agua in Chelva. This is definitely a hike not to miss!
CHECK OUT OUR HIKE ON YOUTUBE
How to hike Ruta del Agua y Aqueducto de la Peña Cortada, Chelva
Since the route is long with different sections, I’ll split it up for you so it’s easier to follow. First, the beginning of the trail follows Ruta del Agua from Chelva to Calles, and second, from Calles to the tunnels, the aqueduct, and back to Chelva.
As mentioned above, I highly recommend following this route on Wikiloc which I recorded.
Part one: Ruta del Agua from Chelva to Calles
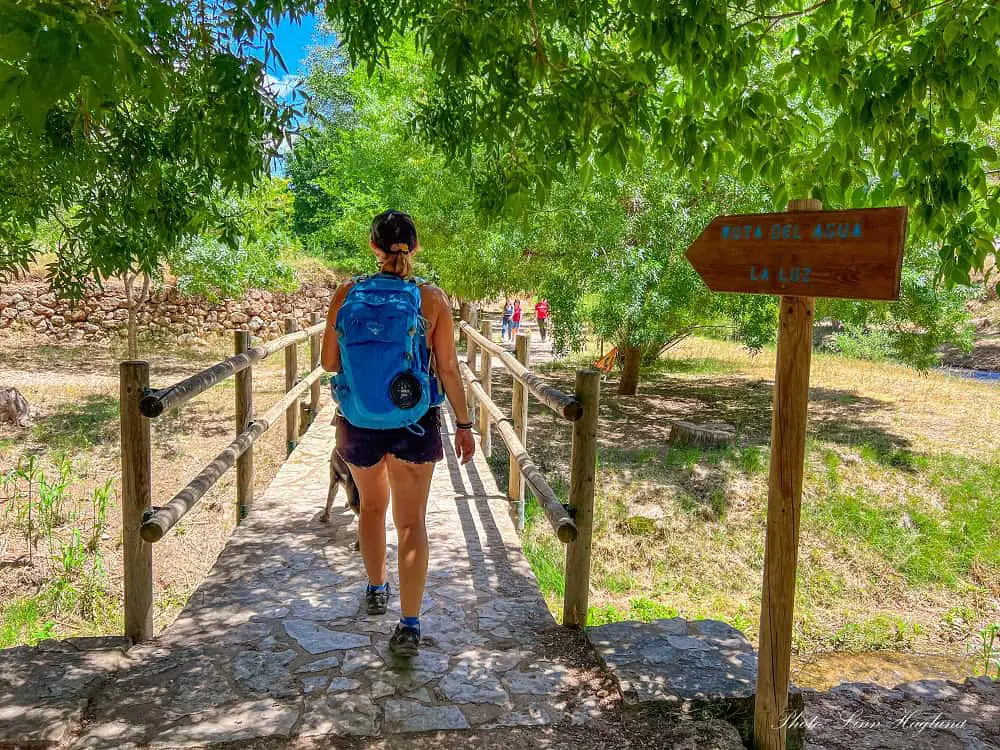
The hike starts at the parking lot of Molino Puerto recreational area and follows the river. There is a small bridge on your left under the trees when entering the parking area with a small wooden sign saying “Ruta del Agua – La Luz.”
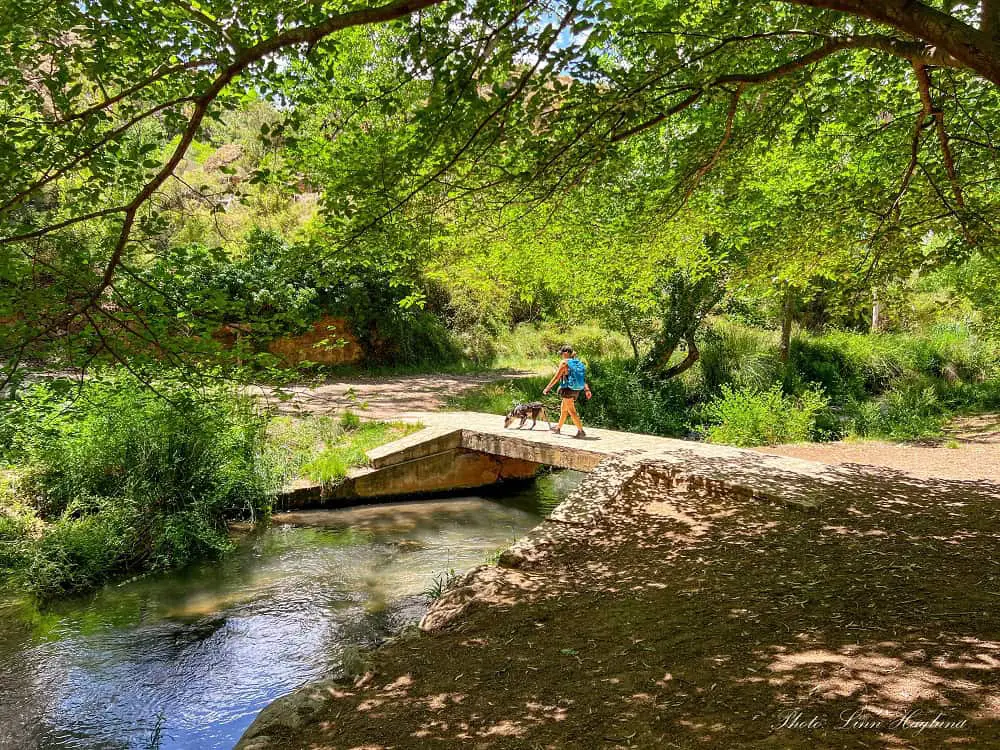
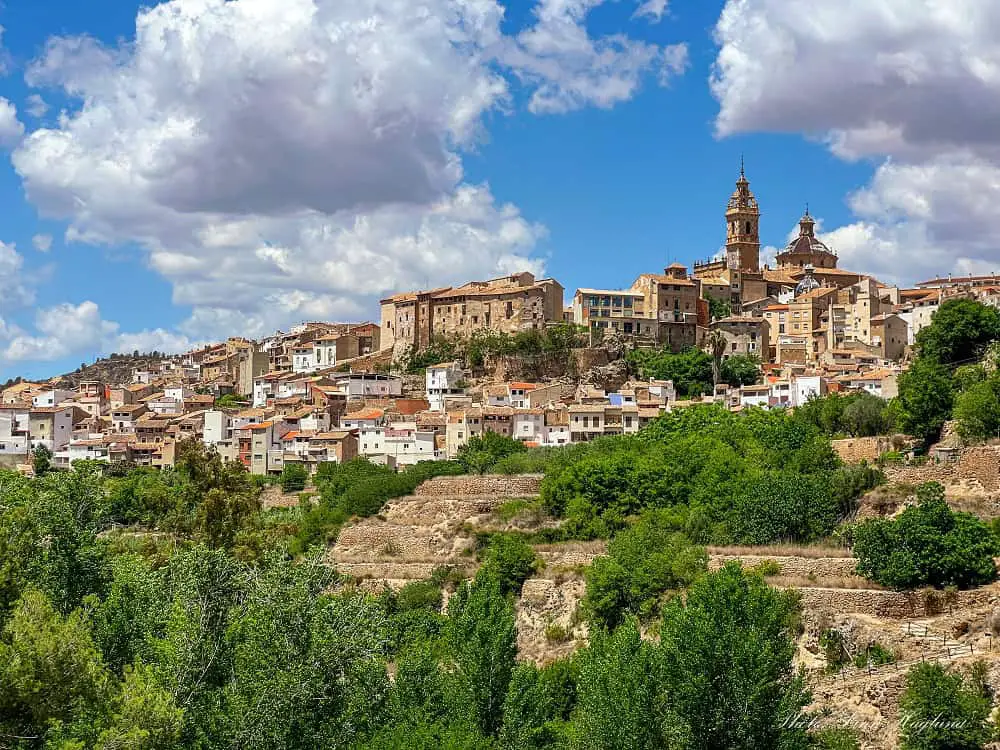
The trail follows the river for a while before you cross a small bridge by a water fountain and it starts climbing up the gorge until you reach a beautiful view of Chelva town (make sure you turn around!)
Shortly after, there is a viewpoint with informational signs pointing out prehistoric caves in the gorge wall on the other side of the ravine.
The trail turns left down to the river again at this point (don’t walk straight, we did and had to turn back.)
Once you get to the bottom of the gorge, you’ll soon get to the ruins of one of the old electricity stations that gave electric light to Chelva back in the day when it was the first village in the area to get electricity. Just after, the path crosses the river.
The trail continues close to the river for a while, so just follow it, but when it forks, take the right path to continue closer to the water (though you can’t really see the river much after the old power station.)
After a while, it hugs the mountain (don’t take the right there, but walk along the mountainside) and you’ll soon get to some brutal steps taking you higher up.
Well, we walked there in the scorching heat and it felt super daunting! In cooler temperatures, I guess it won’t be as bad.
When you get to the top of the steps, you’ll cross some farmland before reaching Calles town.
Part two: Calles, tunnels, aqueduct, and back to Chelva
When you get to the village of Calles, you’ll follow the dirt road to the paved roads. When you reach the first street crossing, take a U-turn to the left and continue up this road until you cross the “main road” in a curve. This takes you straight to a small hermitage and there’s a water fountain where you can fill up your water supplies.
With the water fountain to your left and the church to your right, continue straight through the houses and continue until there’s a dirt road to the right in a road fork.
Continue there for a while, through the forest, and you’ll eventually pass one of the parking areas for the aqueduct and get onto a trail.
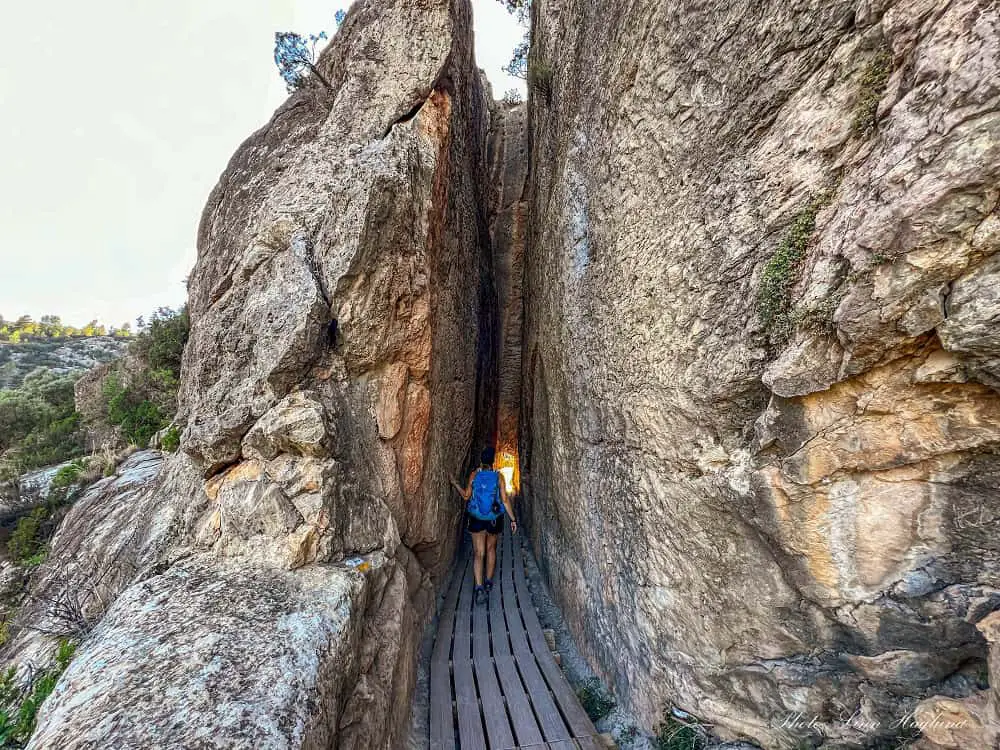
This trail takes you through a deep gorge, across a bridge, and up some steep steps to the top. From there, you’ll follow a beautiful, forested path until you get to the tunnels.
From there, it’s easy as you can’t get lost. This is by far my favorite part of the trail and I’m sure you won’t doubt that you’re on one of the most epic hikes in Spain.
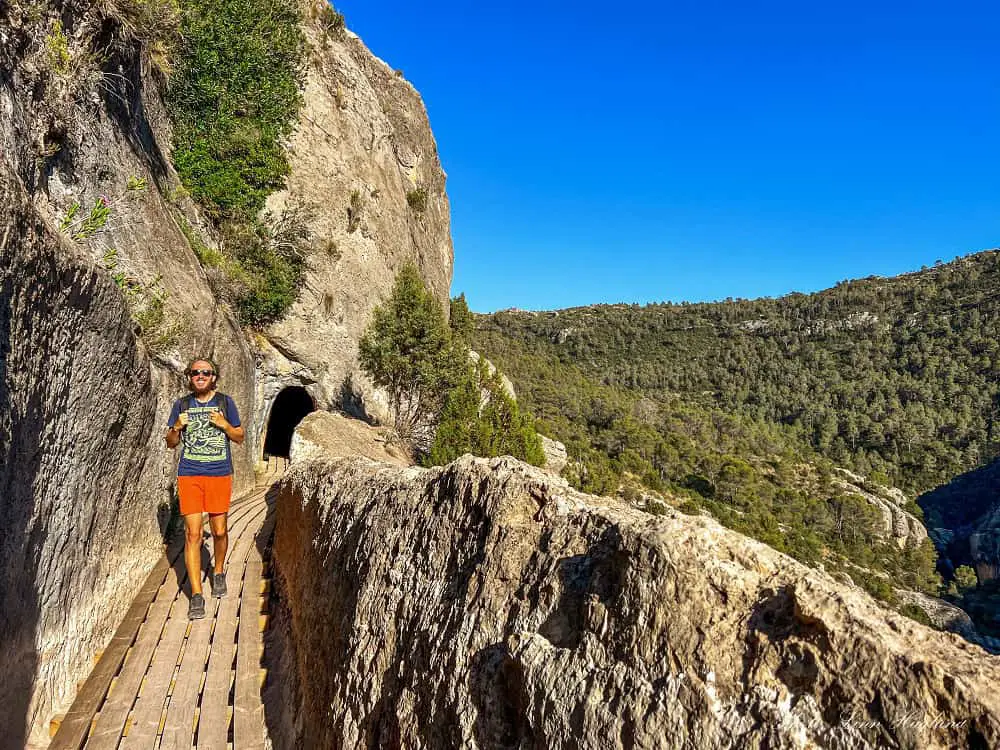
Before I went, I read that you needed a headlamp, but there are windows in the longest tunnels making it easy to see, so there was no need (luckily because we forgot to bring them!)
The last tunnel leads straight to the Roman aqueduct. I found it a bit scary to cross it as it goes straight down on each side, so Mohammed had to walk with Atlas.
My vertigo has its good and bad days and I think it was a fairly good day, so if you have severe vertigo, I’ll say it again, this isn’t a great place to cross.
On the other side of the aqueduct, there is a great spot on the left with the best views of the Roman remains. It really gives you a perspective of how grand it is!
The rest of the trail back to Chelva is fairly easy and well-marked. It’s a short walk to the parking area on this side of the aqueduct and from there.
Shortly after, make sure you follow the signs to the left of the road you walk on, onto a smaller path. You’ll follow dirt paths past some farmland and through some old buildings before you get to the road into Chelva town.
Take note of the old washing place you pass when entering town.

Summing up Ruta del Agua y Aqueducto de la Peña Cortada
Summing up, this is an epic hike with so much to see along the way and I can’t recommend it enough! There are some steep ascents, but nothing extreme, so the only place I’d say can be challenging for some is crossing the aqueduct.
That said, both Mohammed and Atlas walked easily across and I did walk back twice for pictures (though my knees were shaking, and I denied going back for an extra set of pictures.
Bring enough water and a hat, and I’m sure you’ll have an epic hiking adventure!